

Comparimager – Before And After Image Compare For Elementor
/Year
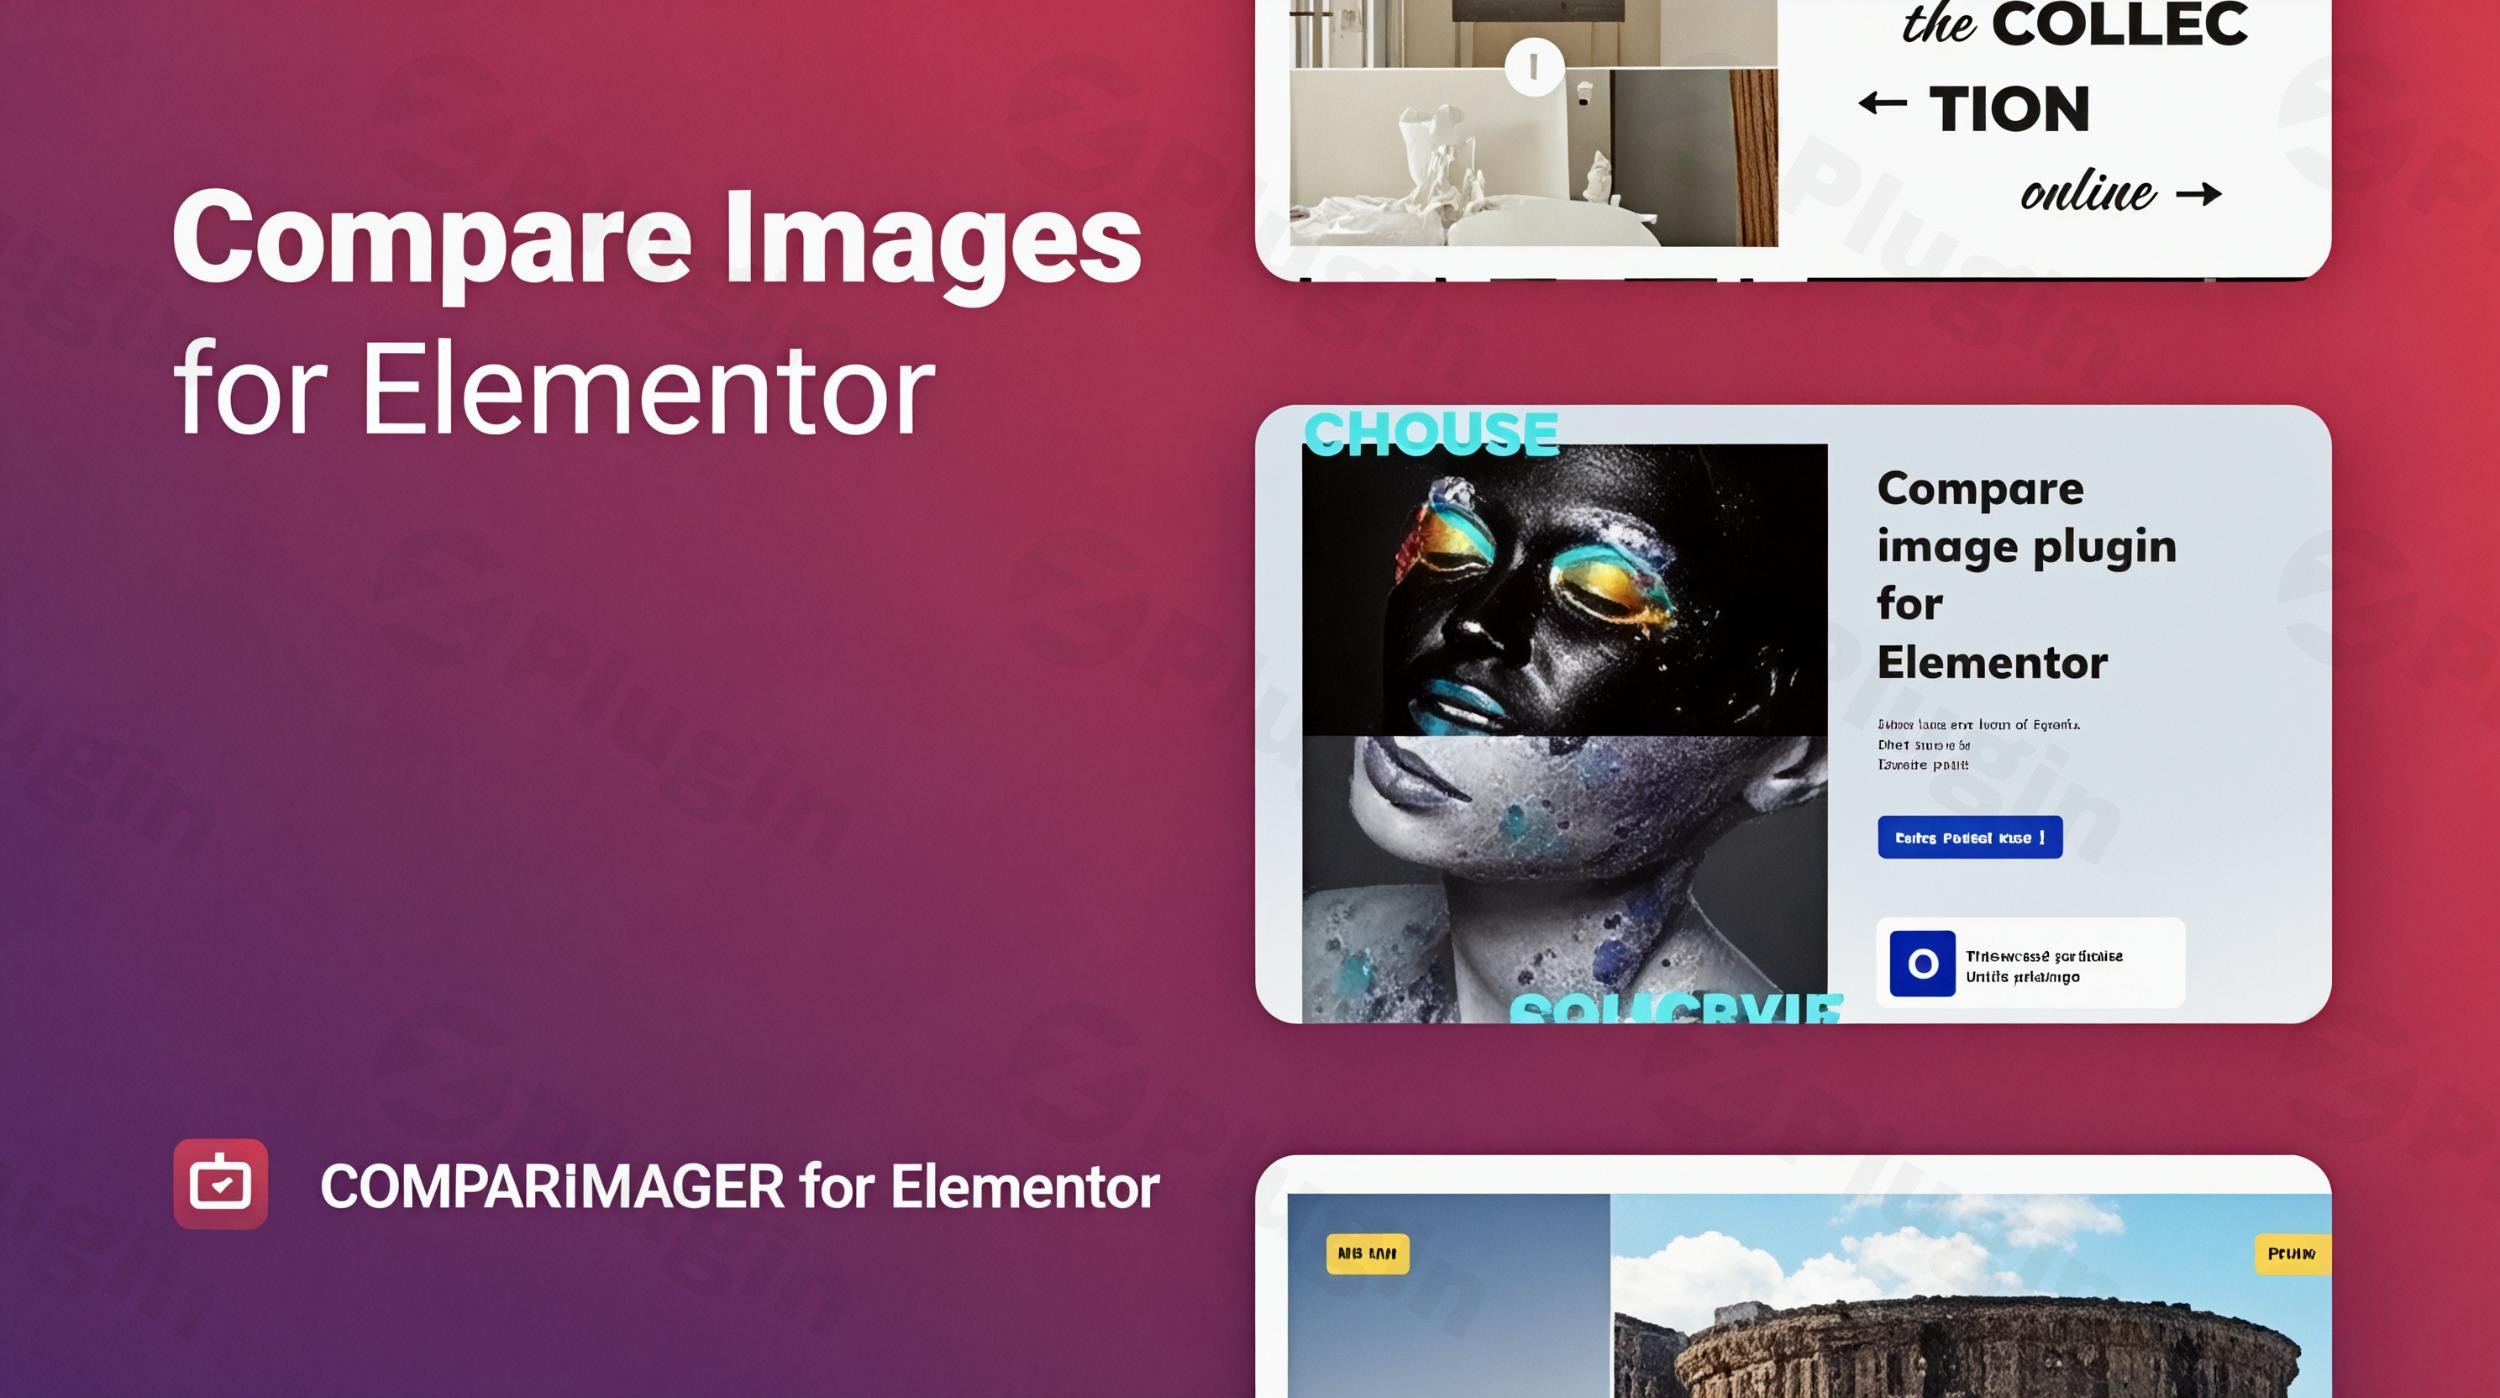
Visual storytelling is one of the most effective ways to convert website visitors. Whether you are showcasing a home renovation, a weight loss journey, or a photo editing portfolio, a Comparimager Elementor setup allows you to demonstrate value instantly. Instead of showing two static images side-by-side, this Elementor before after image slider creates an interactive experience where users can physically “pull” the transformation across the screen.
Comparimager is a lightweight and user-friendly WordPress plugin specifically designed for Elementor. It solves the common problem of static “before and after” displays by providing a high-performance, customizable widget that integrates directly into your existing Elementor workflow.
Key Features of the Comparimager WordPress Image Comparison Plugin
Comparimager isn’t just a simple slider; it is a dedicated tool for enhancing user engagement. Here are the core benefits that make it the best Elementor plugin for image comparison:
- Interactive Image Comparison: Visitors can drag a slider between two images to reveal differences in real-time. This tactile interaction increases “dwell time” on your site, which is a positive signal for SEO.
- Horizontal and Vertical Layouts: Depending on your subject matter (e.g., a tall building vs. a wide landscape), you can toggle between horizontal and vertical comparison lines.
- Flexible Interaction Triggers: You can choose how users interact with the slider. Options include Hover, Click, or Swipe, ensuring a great experience for both desktop and mobile users.
- Pre-designed Templates: If you are in a rush, the plugin comes with 5 professionally designed templates to kickstart your design.
- Complete Design Control: Within the Elementor sidebar, you can customize typography, colors, text shadows, borders, and margins. You can even change the “Before” and “After” labels to suit your branding.
- Lightweight & Fast: Unlike bloated addon packs, Comparimager is optimized for speed, ensuring your page load times remain low—a critical factor for Core Web Vitals.
- SVG and Custom Icons: Enhance the slider handle with custom SVG icons or choose from the built-in navigation icon library.
How to Install Comparimager for Elementor
Setting up the Comparimager Elementor widget is straightforward, even for those who are not developers. Follow these steps to get started:
- Download the Plugin: Purchase and download the plugin ZIP file (usually from a marketplace like CodeCanyon).
- Upload to WordPress: Log in to your WordPress dashboard. Go to Plugins > Add New > Upload Plugin. Choose the file and click Install Now.
- Activate: Once the upload is complete, click the Activate Plugin button.
- Open Elementor: Navigate to the page where you want to add the slider. Click Edit with Elementor.
- Add the Widget: In the Elementor widget search bar, type “Comparimager.” Drag and drop the Before After Image Comparison widget onto your section.
- Configure Images: In the Content tab, upload your “Before” and “After” images. Ensure both images have the same dimensions for the best visual result.
Practical Usage & Best Practices
To get the most out of your WordPress image comparison plugin, consider how it fits into your specific business niche.
1. Real Estate and Interior Design
Showcase the power of a “fixer-upper” or a professional staging service. Use the vertical layout if you are showing a floor-to-ceiling renovation to emphasize the height and scale of the change.
2. Digital Agencies and Retouchers
For photographers or SEO agencies, use the Elementor image gallery widget style to show “Original vs. Retouched” or “Google Results Before vs. After.” This provides immediate proof of expertise.
3. eCommerce Product Comparisons
If you sell cleaning products, skincare, or car detailing kits, use the “Swipe” interaction. This allows mobile users to easily see the product’s effectiveness with a thumb movement.
Best Practices for High Performance:
- Image Optimization: Always compress your images (using tools like TinyPNG) before uploading. Since the plugin loads two images simultaneously, keeping file sizes small is essential for mobile performance.
- Consistent Aspect Ratios: For the smoothest transition, ensure your “Before” and “After” images are cropped to identical dimensions.
- Clear Labels: Use the custom text feature to change “Before/After” to something more specific, like “Draft/Final” or “2023/2024.”
FAQ & Troubleshooting
What is the Comparimager plugin?
Comparimager is a dedicated WordPress plugin built for the Elementor Page Builder. It allows users to create interactive, responsive before-and-after image sliders that help visualize transformations or comparisons between two photos.
Does Comparimager work with Elementor Pro?
Yes, Comparimager is fully compatible with both the Free and Pro versions of Elementor (version 3.0 or higher). It functions as a standalone widget that appears in your Elementor sidebar regardless of your Pro status.
Is the plugin mobile-friendly?
Absolutely. Comparimager includes responsiveness settings and supports “Swipe” interactions, making it highly effective for users on smartphones and tablets.
Can I use multiple sliders on one page?
Yes, you can add an unlimited number of before after sliders in Elementor on a single page without performance degradation, provided your images are optimized.
What should I do if the images don’t align?
The most common cause of misalignment is using two images with different aspect ratios. Ensure both images are the exact same width and height before uploading them to the widget settings.
Conclusion: Is Comparimager Worth It?
If you use Elementor and need a reliable, professional way to showcase transformations, Comparimager is an excellent investment. It bridges the gap between technical functionality and design aesthetics, offering a “Totally SEO Friendly” solution that won’t slow down your website.
By providing a clear, interactive way to demonstrate results, this Comparimager Elementor tool significantly boosts your site’s authority and trustworthiness. For more WordPress tips and plugin reviews, stay tuned to wppick.com.
I. Download Limits & Account Benefits
- Free Downloads: Each email address receives 3 downloads per day for free products
- Upgrade Benefits: Purchase any paid product to increase your daily download limit by 3 for each paid product
- No Account Required: You can download immediately by receiving the download link via email
- Account Recommended: Create an account for easier access to your order history and direct update downloads
II. Understanding GPL vs Official Versions
Important: The products available on WPPick are GPL-licensed versions, which differ from official developer versions. Before purchasing, please read our comprehensive guide: Understanding GPL & Official Differences at WPPick
Key Points:
- GPL versions may not include premium support from original developers
- Updates may be delayed compared to official releases
- Some premium features might have limitations
- Always consider your specific needs and support requirements
III. Support & Assistance
We’re here to help through multiple channels:
- Email Support: Direct email assistance for all inquiries
- Live Chat: Real-time support during business hours
- Comprehensive Documentation: Detailed guides and tutorials
IV. Order Tracking
Access your complete purchase history and download links anytime: Order History
V. Account Access
New to WPPick? Login or Create Account to manage your downloads and orders efficiently.
VI. Refund Protection
We stand behind our products with a clear refund policy. Review our terms: Refund Policy
VII. Privacy & Security
Your data security is our priority. Learn how we protect your information: Privacy Policy
VII. Terms of Service
Understanding our service terms ensures a smooth experience: Terms of Use
Quick Tips for Best Experience
- Verify Compatibility: Check plugin/theme compatibility with your WordPress version
- Backup First: Always backup your site before installing new plugins or themes
- Test Environment: Consider testing on a staging site first
- Stay Updated: Regularly check for updates in your account dashboard
- Read Documentation: Review any included documentation for optimal setup
Need Help?
If you have questions about downloads, licensing, or need technical assistance, don’t hesitate to contact our support team. We’re committed to ensuring you have the best possible experience with WPPick products.
Ready to get started? Your download adventure begins with just one click!
- Fixed plugin security issues