

Gravity Forms Geolocation Add-on
/Year
What is Gravity Forms Geolocation Add-on?
Gravity Forms Geolocation Add-on is a robust extension designed for WordPress site administrators who rely on Gravity Forms to capture and process location-based data. By bridging the gap between standard form inputs and powerful mapping services, this plugin introduces specialized fields that handle addresses, geographic coordinates, and spatial calculations directly within your forms. It provides the essential tooling needed to turn ordinary form submissions into geocoded data points, streamlining workflows for businesses that depend on precise location tracking.
How Does It Work?
The plugin integrates seamlessly with mapping technologies like the Google Places API to power features such as real-time address autocomplete and interactive map displays. When visitors fill out a form on your WordPress site, the add-on can automatically detect their current location, suggest accurate street addresses as they type, and convert those inputs into usable latitude and longitude coordinates. Administrators can configure these fields easily within the standard Gravity Forms editor, mapping out custom location requirements without needing complex custom development.
Who Is This Plugin For?
This add-on is ideal for a wide variety of WordPress users and digital professionals managing location-sensitive operations. Key audiences include:
- Local service businesses and contractors requiring accurate customer address verification during quote requests.
- E-commerce stores and delivery services calculating shipping distances or local drop-off zones.
- Real estate agencies listing property locations and allowing users to search nearby amenities.
- Event organizers managing regional registrations or venue check-ins through structured web forms.
Key Capabilities and Features
The plugin equips your WordPress website with a comprehensive suite of location-focused features tailored for professional deployment:
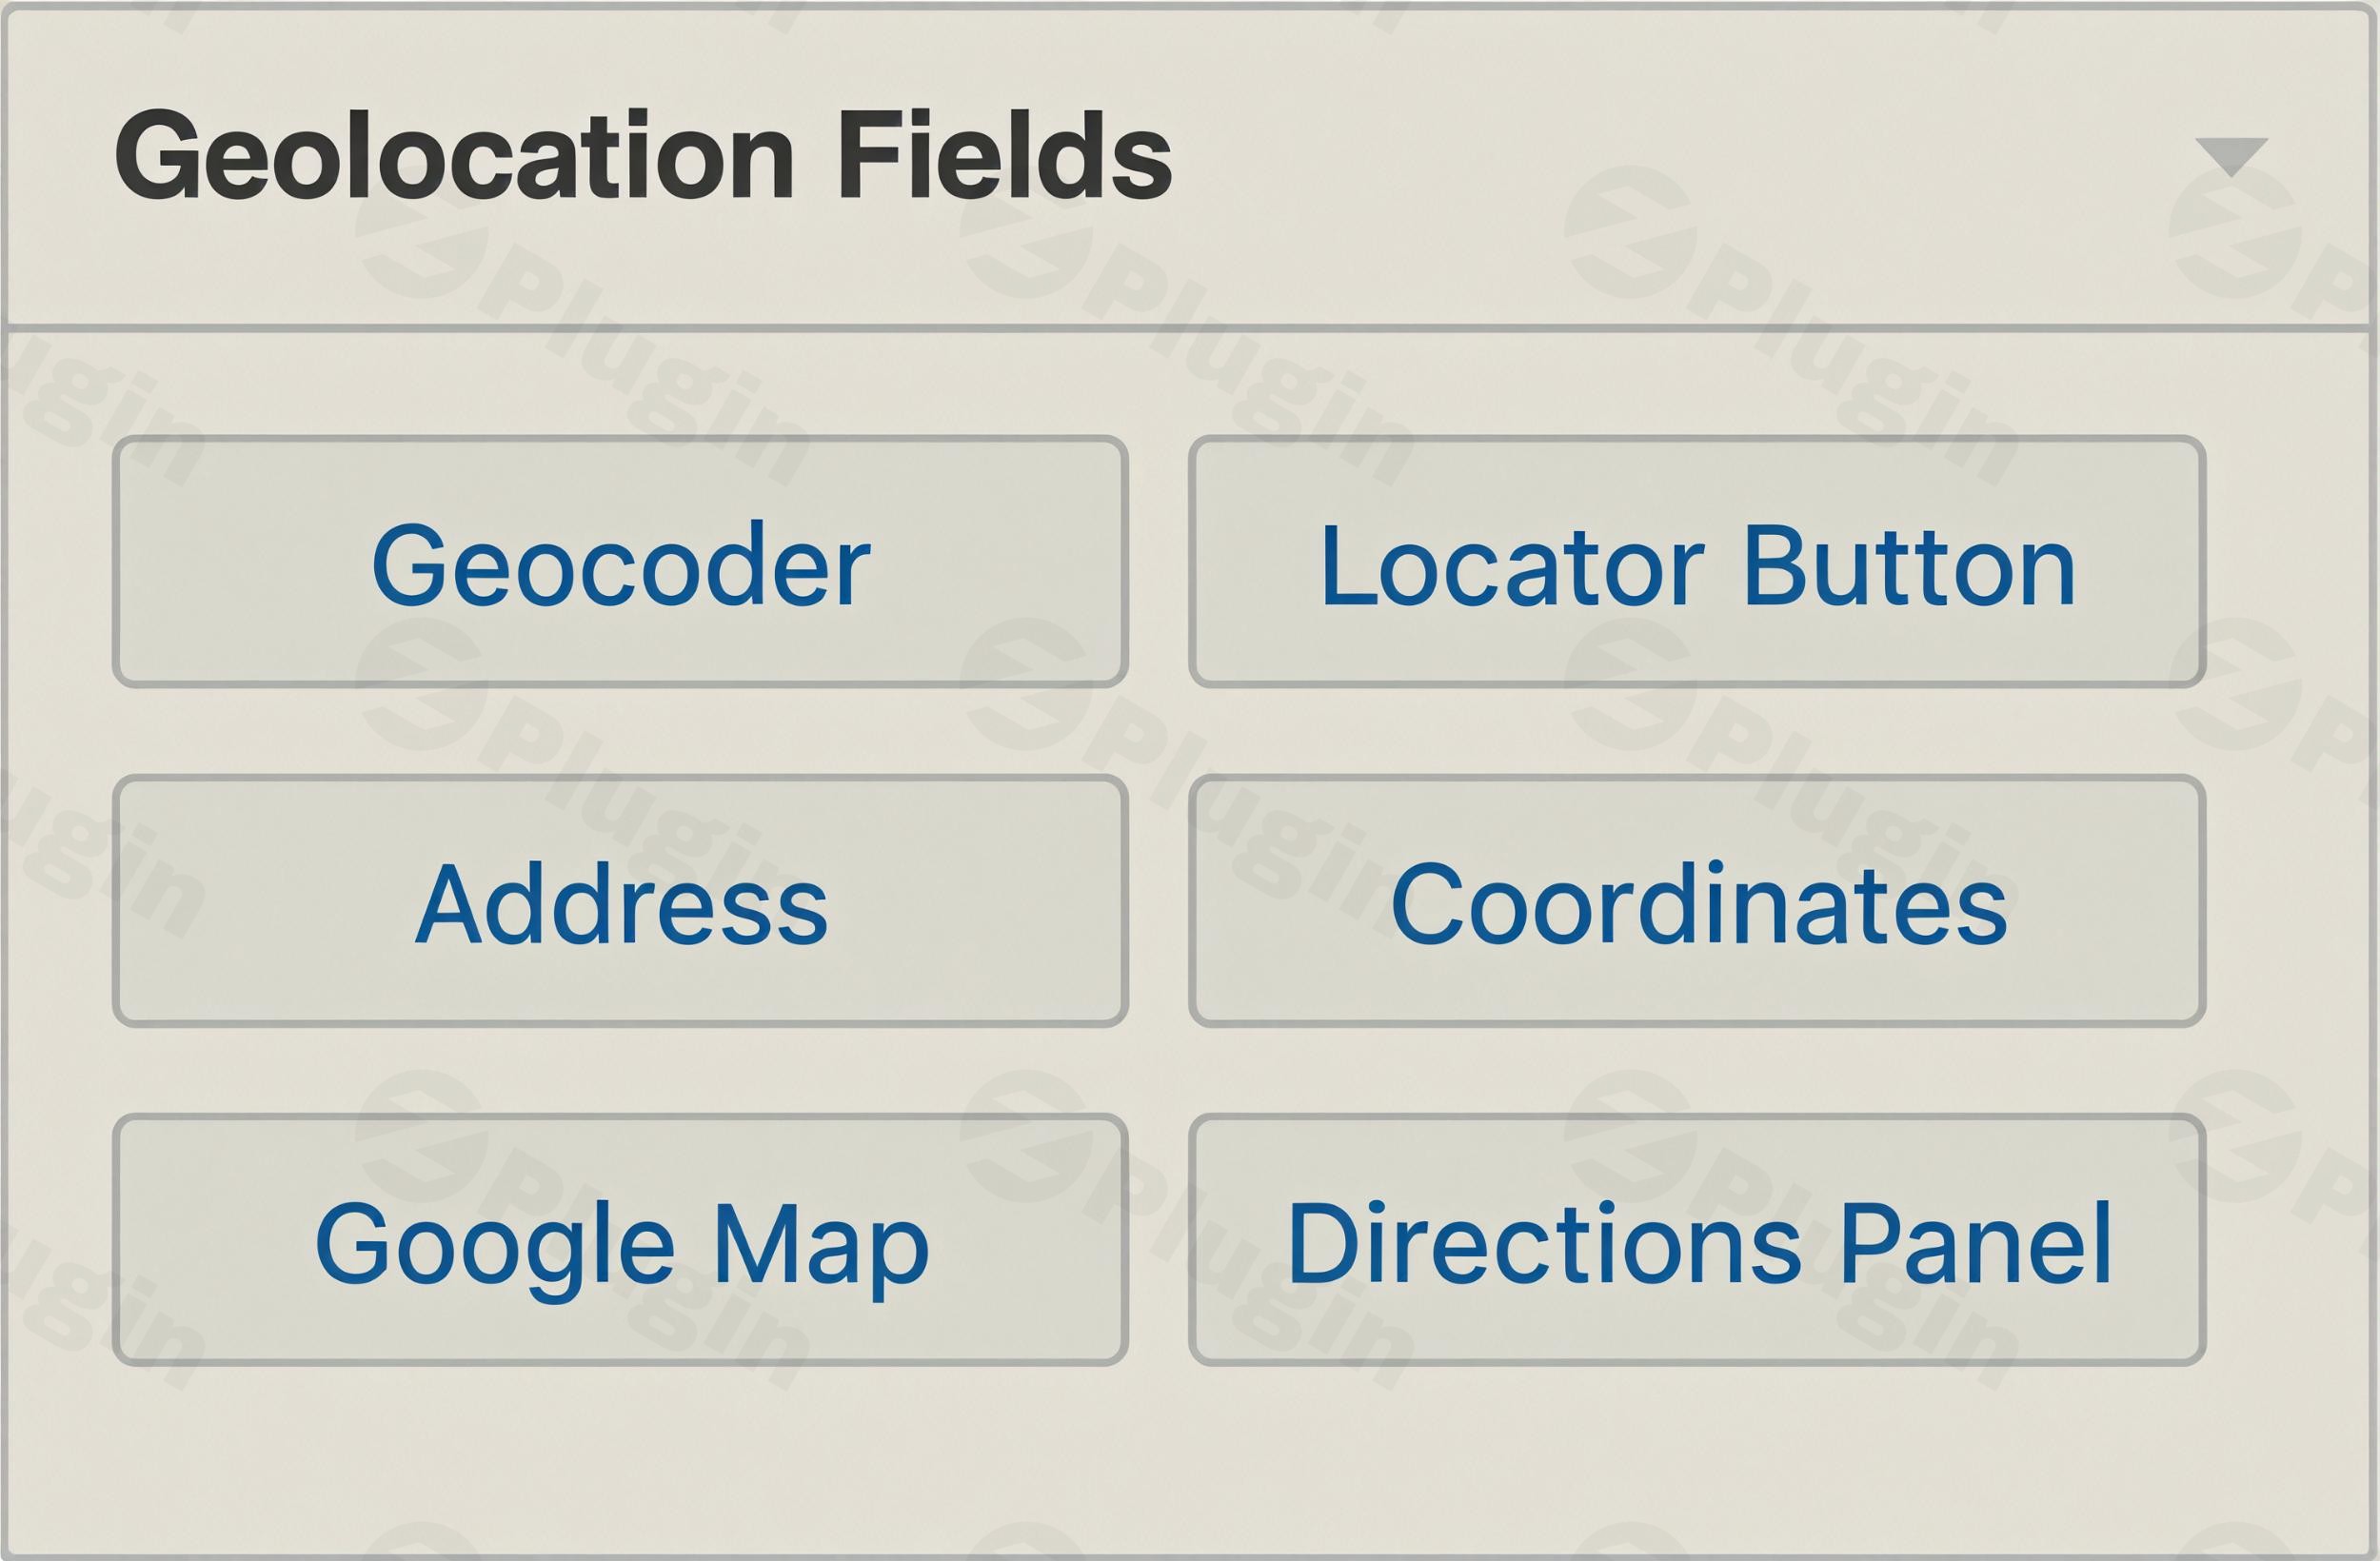
- Eight specialized location fields including interactive Google Maps integration and address inputs.
- Instant address autocomplete functionality to minimize user typos and speed up form completion.
- Automatic conversion of text addresses into precise latitude and longitude coordinates.
- Built-in distance calculation capabilities to measure spatial metrics between points.
- Seamless compatibility with core Gravity Forms layouts and modern WordPress themes.
Practical WordPress Use Cases
Implementing location intelligence into your forms opens up numerous practical applications for your website. You can build advanced store locators that let customers find the nearest branch, create precise delivery order forms that restrict service areas based on calculated distance, or deploy directory submission forms that automatically pin user listings on an interactive map. It also enhances user experience by auto-detecting location data on form submission, reducing friction and increasing conversion rates.
Setup and Compatibility Context
Setting up the add-on requires an active installation of Gravity Forms and proper configuration of mapping API keys, such as Google Places. The platform is designed to integrate smoothly into existing WordPress environments. Regular updates ensure that the plugin remains compatible with core updates, maintaining stable performance across desktop and mobile browsers while preventing common rendering or submission errors.
Latest Version Context
Version 1.5.3 introduces important improvements and compatibility adjustments. It updates form settings to enable collecting the user’s location on submit by default and includes crucial compatibility updates for Address field country code changes in Gravity Forms 3.0.3. Additionally, this release resolves several bug fixes related to the new Google Places API, ensuring that street address values clear correctly, mobile search experiences render smoothly on iOS devices, and user locations are accurately saved during Ajax form submissions.
Reasons to Choose It on WPPick
Sourcing your WordPress plugins through WPPick ensures you receive verified, up-to-date software files ready for immediate deployment on your projects. By providing reliable access to specialized extensions like the Gravity Forms Geolocation Add-on, WPPick helps developers and site owners expand their form capabilities efficiently, backed by clear version history and secure installation packages.
Frequently Asked Questions
Does this plugin require Gravity Forms to work?Yes, this is an add-on plugin that requires a base installation of Gravity Forms to function properly on your WordPress website.
Can it automatically detect a user’s location?Yes, the plugin features automatic location detection capabilities that can capture user coordinates upon form submission or interaction.
Is a Google Maps API key required?Yes, utilizing features like address autocomplete and interactive map rendering requires configuring valid API credentials from Google.
Does the add-on support address autocomplete?Yes, it includes integrated address autocomplete functionality powered by modern mapping APIs to streamline user input.
How does version 1.5.3 improve mobile usability?Version 1.5.3 fixes specific issues where the new Google Places API search experience could render incorrectly or cause unexpected zooming and scrolling on iOS devices.
I. Download Limits & Account Benefits
- Free Downloads: Each email address receives 3 downloads per day for free products
- Upgrade Benefits: Purchase any paid product to increase your daily download limit by 3 for each paid product
- No Account Required: You can download immediately by receiving the download link via email
- Account Recommended: Create an account for easier access to your order history and direct update downloads
II. Understanding GPL vs Official Versions
Important: The products available on WPPick are GPL-licensed versions, which differ from official developer versions. Before purchasing, please read our comprehensive guide: Understanding GPL & Official Differences at WPPick
Key Points:
- GPL versions may not include premium support from original developers
- Updates may be delayed compared to official releases
- Some premium features might have limitations
- Always consider your specific needs and support requirements
III. Support & Assistance
We’re here to help through multiple channels:
- Email Support: Direct email assistance for all inquiries
- Live Chat: Real-time support during business hours
- Comprehensive Documentation: Detailed guides and tutorials
IV. Order Tracking
Access your complete purchase history and download links anytime: Order History
V. Account Access
New to WPPick? Login or Create Account to manage your downloads and orders efficiently.
VI. Refund Protection
We stand behind our products with a clear refund policy. Review our terms: Refund Policy
VII. Privacy & Security
Your data security is our priority. Learn how we protect your information: Privacy Policy
VII. Terms of Service
Understanding our service terms ensures a smooth experience: Terms of Use
Quick Tips for Best Experience
- Verify Compatibility: Check plugin/theme compatibility with your WordPress version
- Backup First: Always backup your site before installing new plugins or themes
- Test Environment: Consider testing on a staging site first
- Stay Updated: Regularly check for updates in your account dashboard
- Read Documentation: Review any included documentation for optimal setup
Need Help?
If you have questions about downloads, licensing, or need technical assistance, don’t hesitate to contact our support team. We’re committed to ensuring you have the best possible experience with WPPick products.
Ready to get started? Your download adventure begins with just one click!
- Updated the form setting to enable collecting the user's location on submit by default.
- Updated for compatibility with the Address field country code change in Gravity Forms 3.0.3.
- Fixed an issue where the Street Address value can still be saved to the entry after being cleared from the input while using the new Google Places API.
- Fixed an issue where the Street Address value is hidden after the form failed validation or when navigating back to a previous page while using the new Google Places API.
- Fixed an issue where re-focusing on the address field displays "undefined" instead of the previously selected address when using the new Google Places API.
- Fixed an issue where the new Places API's mobile search experience could render incorrectly or unexpectedly zoom/scroll on iOS devices.
- Fixed an issue where the user location is not saved when the form is submitted using new Ajax.
- Fixed an issue where the address field styles disappears in orbital theme when the geolocation suggestions setting is enabled.