

Timeliner – Timeline For Elementor
/Year
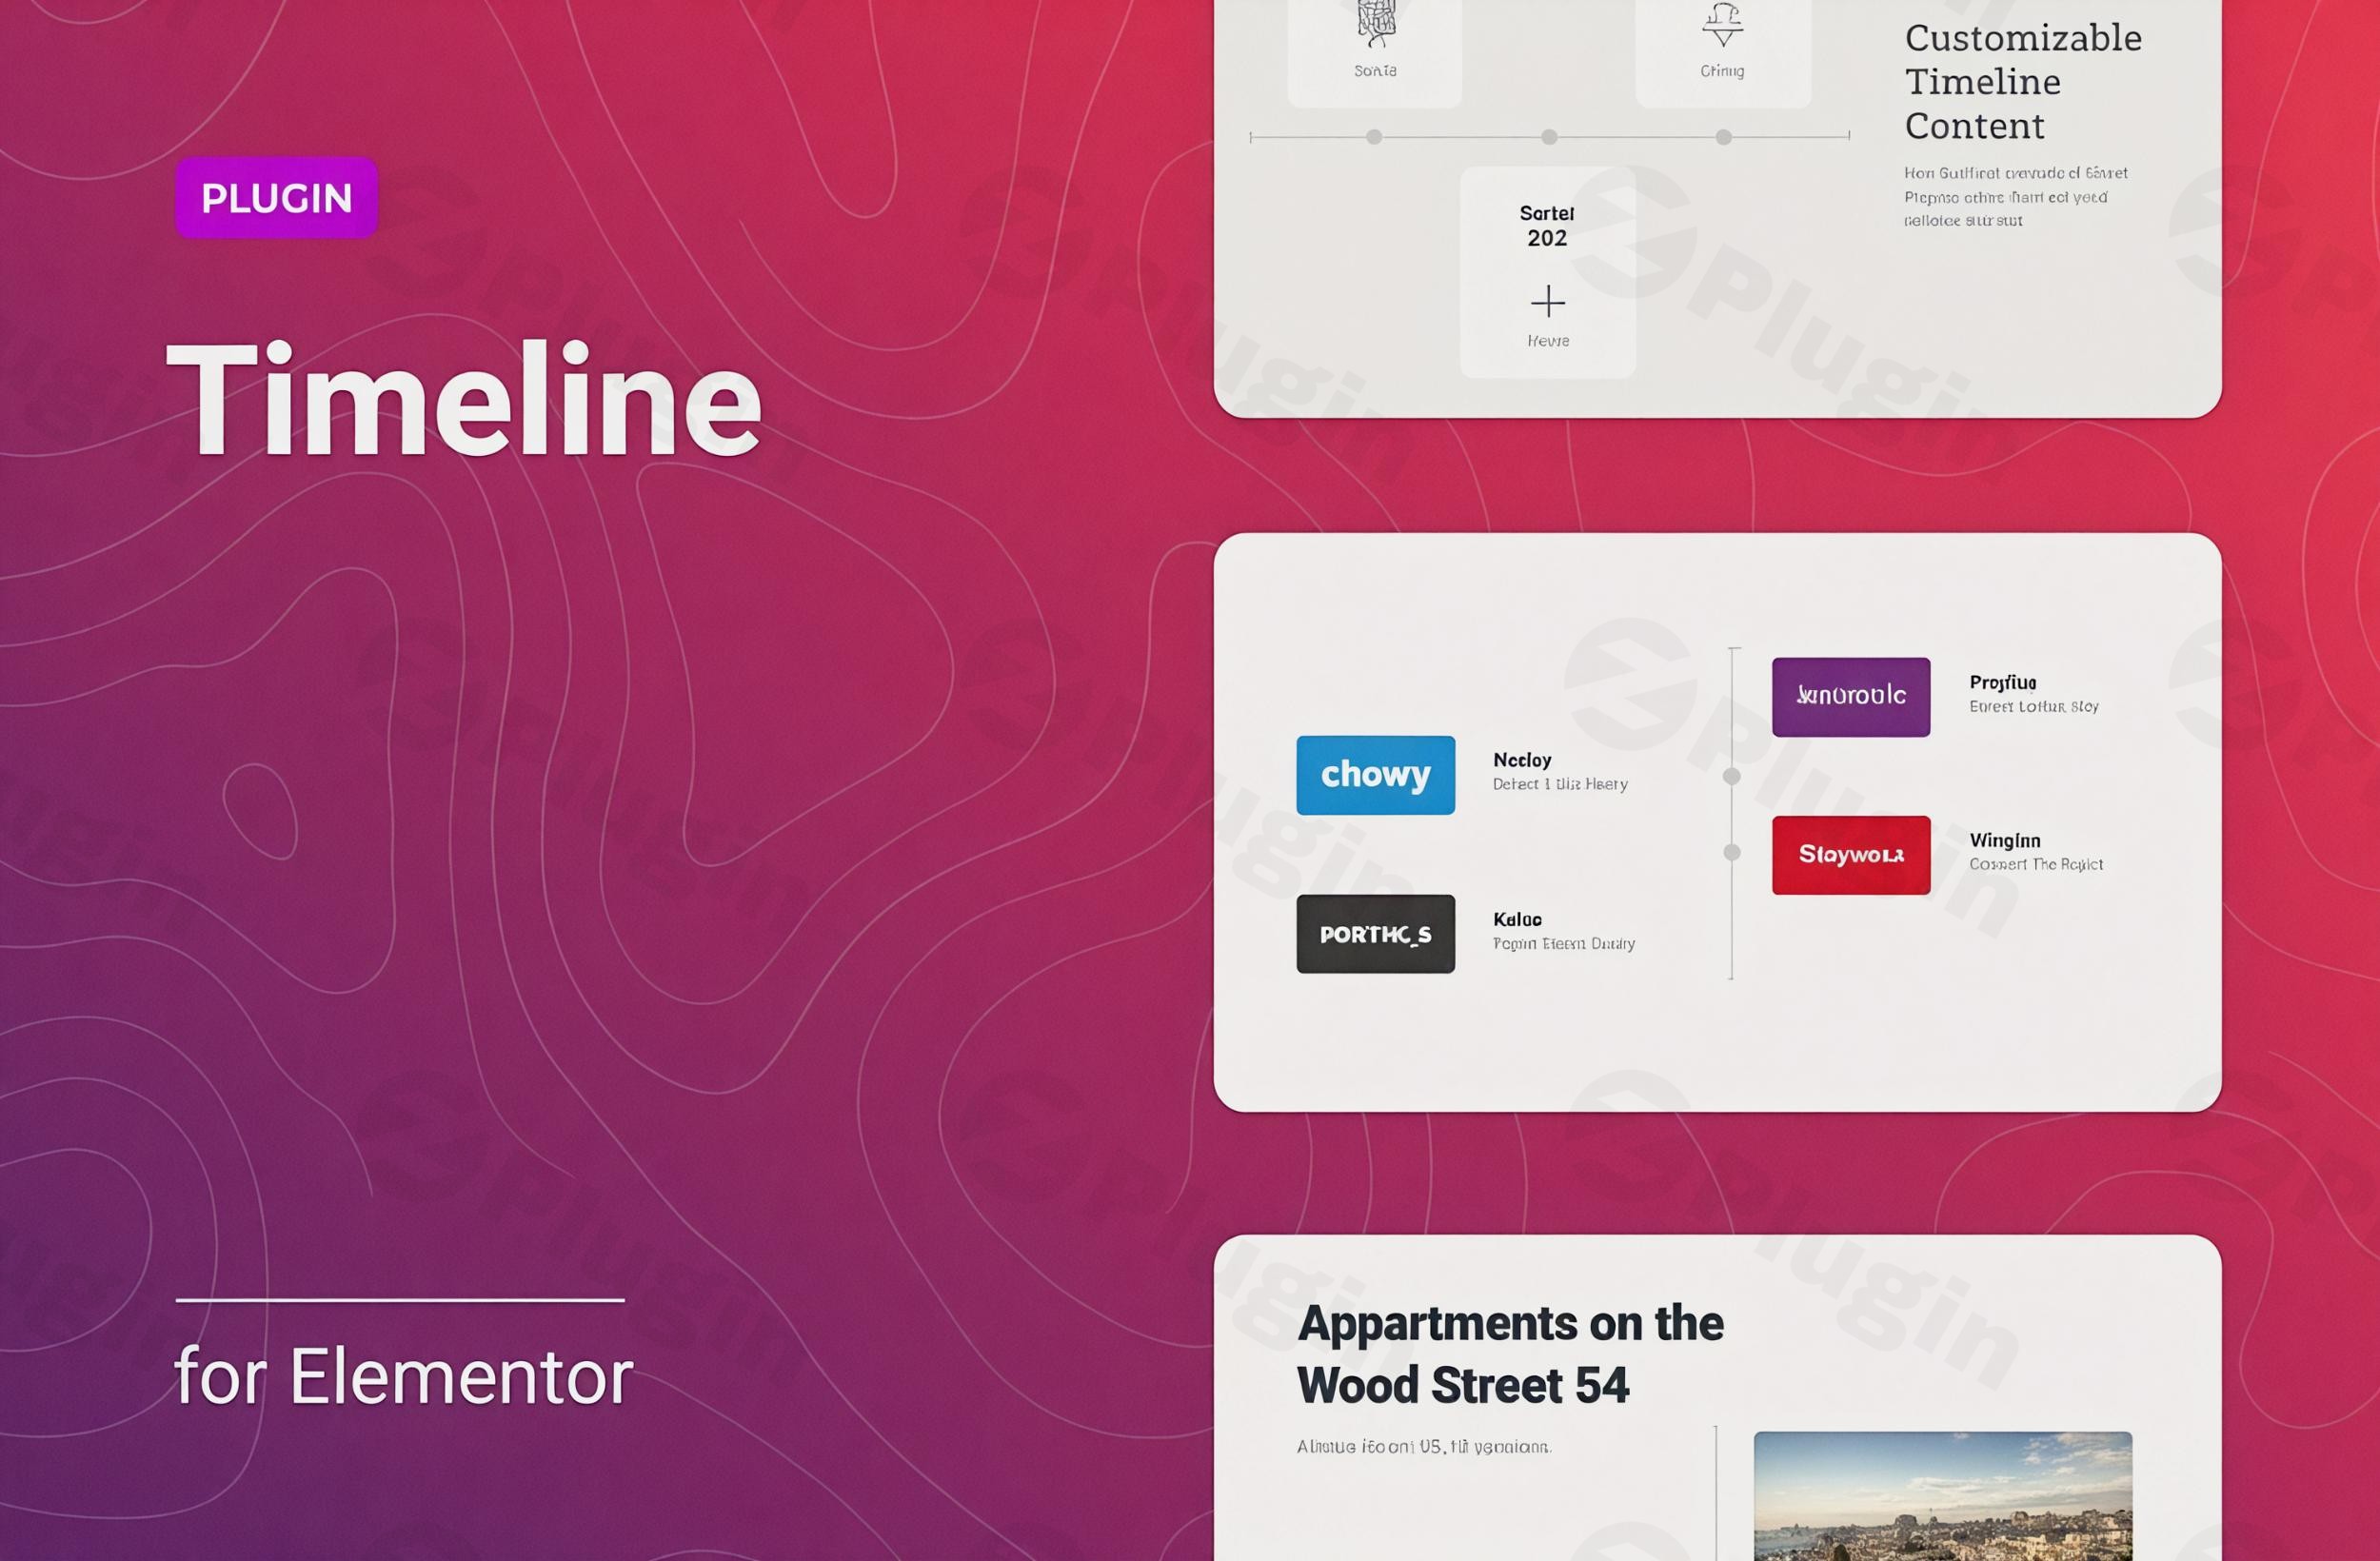
Displaying events in a chronological sequence is one of the most effective ways to tell a brand story, outline a product roadmap, or showcase a personal journey. However, building these layouts manually in WordPress can be a design nightmare. Timeliner Elementor is a dedicated elementor timeline plugin designed to solve this problem by providing a lightweight, drag-and-drop solution for creating professional timelines without touching a single line of code.Whether you are a marketer building a company history page or a project manager displaying milestones, this wordpress timeline elementor tool offers the flexibility needed to create responsive, SEO-friendly chronological layouts that engage visitors.
Key Features of Timeliner – Timeline For Elementor
The Timeliner Elementor plugin stands out due to its balance of simplicity and deep customization. Here is a breakdown of why it is a preferred elementor timeline widget for many developers and site owners:
1. Dual Display Modes: Horizontal and Vertical
Not every page layout suits a vertical scroll. Timeliner allows you to switch between:
- Vertical Timeline WordPress: Perfect for long-form company histories or detailed “About Us” pages.
- Horizontal Timeline WordPress: Ideal for project roadmaps or feature rollouts where horizontal space is abundant.
- Auto-Adaptability: The plugin can automatically switch modes based on the user’s screen width, ensuring your content remains readable on mobile devices.
2. Fully Customizable Content
Unlike generic widgets, Timeliner lets you tailor every timeline item. You can add:
- Custom Media: Upload images and apply CSS filters directly within the editor.
- Dynamic Text: Include titles, descriptions, and call-to-action (CTA) buttons.
- Styling Control: Adjust typography, colors, backgrounds, borders, margins, and padding for every element.
3. Pre-made Design Templates
For those who want to move fast, the plugin includes five professional templates. These act as a foundation, allowing you to import a proven design and then tweak it to match your brand’s aesthetic.
4. High-Performance & SEO Optimized
Timeliner is built to be “Totally SEO Friendly.” Because it uses clean code and is performance-optimized, it helps search engines crawl your chronological data easily without bloating your site’s load time. It is compatible with all modern browsers (Chrome, Safari, Firefox, Edge) and supports RTL (Right-to-Left) languages.
How to Install Timeliner for Elementor: A Step-by-Step Guide
Getting started with this elementor timeline plugin is straightforward. Follow these steps to set up your first timeline:
- Upload the Plugin: Log in to your WordPress dashboard. Navigate to Plugins > Add New and upload the Timeliner
.zipfile. - Activation: Once uploaded, click Activate.
- Open Elementor: Navigate to the page where you want the timeline and click Edit with Elementor.
- Find the Widget: In the Elementor sidebar, search for “Timeliner” or look under the General/Pro category for the elementor timeline widget.
- Drag and Drop: Drag the Timeliner widget onto your page section.
- Configure Content: In the “Content” tab, add your milestones. You can add images, dates, and descriptions for each point.
7. Style Your Timeline: Move to the “Style” tab to change colors, adjust the line thickness, and modify typography to suit your theme.
Practical Usage & Best Practices
To get the most out of your wordpress timeline elementor setup, consider these real-world workflows:
Create an Elementor History Timeline
For corporate websites, use the vertical layout to showcase the “Evolution of our Company.”
- Pro Tip: Use high-quality images for each milestone to break up text-heavy sections.
Project & Product Roadmaps
Software companies and SaaS startups can use the horizontal layout to show upcoming features.
- Best Practice: Add buttons to each milestone that link to detailed documentation or “Coming Soon” landing pages.
Personal Resume or Portfolio
If you are a freelancer, use Timeliner to show your career progression.
* Ideal for: Demonstrating growth over time in a way that is more visually interesting than a standard list.
FAQ & Troubleshooting
What is Timeliner – Timeline For Elementor?
Timeliner – Timeline For Elementor is a WordPress plugin that extends the Elementor page builder. It allows users to create vertical and horizontal chronological timelines to showcase events, roadmaps, or histories without needing custom CSS or HTML.
Is the Timeliner plugin responsive and SEO-friendly?
Yes. Timeliner is designed to be fully responsive, meaning it automatically adjusts its layout for mobile, tablet, and desktop views. It is also optimized for SEO, ensuring that the text content within your timelines is readable by search engine crawlers like Google.
Can Timeliner create both horizontal and vertical timelines?
Absolutely. You can choose between horizontal and vertical display modes within the widget settings. You can also set the plugin to switch between these modes automatically depending on the visitor’s screen size.
Is Timeliner compatible with my WordPress theme?
Timeliner is compatible with any WordPress theme that supports Elementor (versions 2.5 and higher). It works seamlessly with popular themes like Hello Elementor, Astra, and OceanWP.
How do I translate the timeline into another language?
The plugin is translation-ready and includes a .pot file. You can use tools like Poedit or plugins like Loco Translate to localize the timeline interface into your preferred language, including RTL support.
Conclusion: Final Verdict
If you need a reliable, lightweight, and professional way to display chronological events, Timeliner Elementor is an excellent investment. Unlike bloated multi-purpose addons, this plugin focuses specifically on the timeline experience, providing the exact tools needed for a polished result.Its seamless integration as an elementor timeline widget makes it accessible for beginners, while the deep CSS and styling options satisfy the needs of advanced designers. For any site owner looking to improve their storytelling, wordpress timeline elementor is the ideal solution to turn static dates into an engaging visual journey.For more WordPress tips and plugin reviews, visit wppick.com.
I. Download Limits & Account Benefits
- Free Downloads: Each email address receives 3 downloads per day for free products
- Upgrade Benefits: Purchase any paid product to increase your daily download limit by 3 for each paid product
- No Account Required: You can download immediately by receiving the download link via email
- Account Recommended: Create an account for easier access to your order history and direct update downloads
II. Understanding GPL vs Official Versions
Important: The products available on WPPick are GPL-licensed versions, which differ from official developer versions. Before purchasing, please read our comprehensive guide: Understanding GPL & Official Differences at WPPick
Key Points:
- GPL versions may not include premium support from original developers
- Updates may be delayed compared to official releases
- Some premium features might have limitations
- Always consider your specific needs and support requirements
III. Support & Assistance
We’re here to help through multiple channels:
- Email Support: Direct email assistance for all inquiries
- Live Chat: Real-time support during business hours
- Comprehensive Documentation: Detailed guides and tutorials
IV. Order Tracking
Access your complete purchase history and download links anytime: Order History
V. Account Access
New to WPPick? Login or Create Account to manage your downloads and orders efficiently.
VI. Refund Protection
We stand behind our products with a clear refund policy. Review our terms: Refund Policy
VII. Privacy & Security
Your data security is our priority. Learn how we protect your information: Privacy Policy
VII. Terms of Service
Understanding our service terms ensures a smooth experience: Terms of Use
Quick Tips for Best Experience
- Verify Compatibility: Check plugin/theme compatibility with your WordPress version
- Backup First: Always backup your site before installing new plugins or themes
- Test Environment: Consider testing on a staging site first
- Stay Updated: Regularly check for updates in your account dashboard
- Read Documentation: Review any included documentation for optimal setup
Need Help?
If you have questions about downloads, licensing, or need technical assistance, don’t hesitate to contact our support team. We’re committed to ensuring you have the best possible experience with WPPick products.
Ready to get started? Your download adventure begins with just one click!
- Added paddings in the dividing line for horizontal position.